Your phone and laptop come with hundreds of settings, most of which you’ve never touched. That’s by design — manufacturers choose defaults that work for the broadest possible audience, which means they’re optimized for nobody in particular. The result is a device that functions, but doesn’t truly fit how you live and work.
The good news: a handful of targeted adjustments can dramatically improve your daily experience. These aren’t obscure tweaks for power users. They’re practical changes that reduce friction, save battery, minimize distractions, and make your device feel like it was actually designed for you.
Every suggestion below takes less than sixty seconds to implement. None of them require technical expertise. And once configured, they work silently in the background, making each day slightly smoother than the last.
Display Settings: Reducing Eye Strain and Improving Readability
You look at your screen more than almost anything else in your environment. Even small improvements in how it displays content pay dividends across every hour you spend with your device.
Text size and bold text
Most people leave their text size at the factory default, even if they occasionally squint or hold their phone further away to read. There’s no reason for this — increasing text size by one or two steps eliminates micro-strain you may not even notice consciously but that accumulates into fatigue over a full day.
- iOS: Settings → Display & Brightness → Text Size. Also enable Bold Text for better contrast.
- Android: Settings → Display → Font size and style. Adjust the slider one notch larger than your current setting.
Night mode scheduling
Blue light from screens doesn’t cause permanent eye damage — that’s a myth. But it does suppress melatonin production in the evening, which can delay sleep onset. Scheduling your device’s warm-tone mode to activate automatically at sunset eliminates one decision and one potential sleep disruption.
- iOS: Settings → Display & Brightness → Night Shift → Scheduled (Sunset to Sunrise)
- Android: Settings → Display → Night Light → Schedule (Sunset to Sunrise)
Auto-brightness calibration
Auto-brightness works well on most modern devices, but it needs data to calibrate properly. If you find your screen too dim in bright rooms or too bright at night, manually adjust the brightness in those situations. Your device learns from these corrections and adjusts its algorithm over time. After a week of occasional manual tweaks, auto-brightness becomes significantly more accurate.
Notification Settings: Reclaiming Your Attention
The average smartphone user receives between 50 and 80 notifications per day. Each one interrupts your focus, triggers a micro-decision (check it or ignore it?), and adds a tiny layer of mental load. Most of these notifications serve the app’s engagement goals, not yours.
The three-tier notification system
Not all notifications deserve the same level of interruption. Here’s a framework for deciding which deserve sound, which deserve a badge, and which deserve nothing:
- Tier 1 — Immediate (sound + banner): Messages from people you care about, calendar reminders, security alerts. Things where a delay of even an hour matters.
- Tier 2 — Passive (badge only): Email, social media, news. Things you want to check on your own schedule, not the app’s schedule.
- Tier 3 — Silent (disabled): Marketing messages, game notifications, “someone you may know” suggestions, engagement prompts. Things that benefit the app, not you.
How to implement this:
Go to Settings → Notifications and work through your apps one by one. It takes about ten minutes the first time, and the reduction in daily interruptions is immediate and dramatic. Most people report feeling noticeably calmer within 48 hours of implementing a tiered notification system.
Focus modes (Do Not Disturb evolved)
Both iOS and Android now offer context-based notification filtering that goes beyond simple Do Not Disturb:
- Sleep Focus: Activates automatically at bedtime. Only emergency calls and starred contacts break through.
- Work Focus: Silences personal apps during work hours. Allows only work-related notifications.
- Personal Focus: The reverse — silences work communications during personal time.
The power of these modes is that they automate decisions you’d otherwise have to make dozens of times per day. Instead of choosing whether to check each notification, you’ve already decided what’s appropriate for each context.
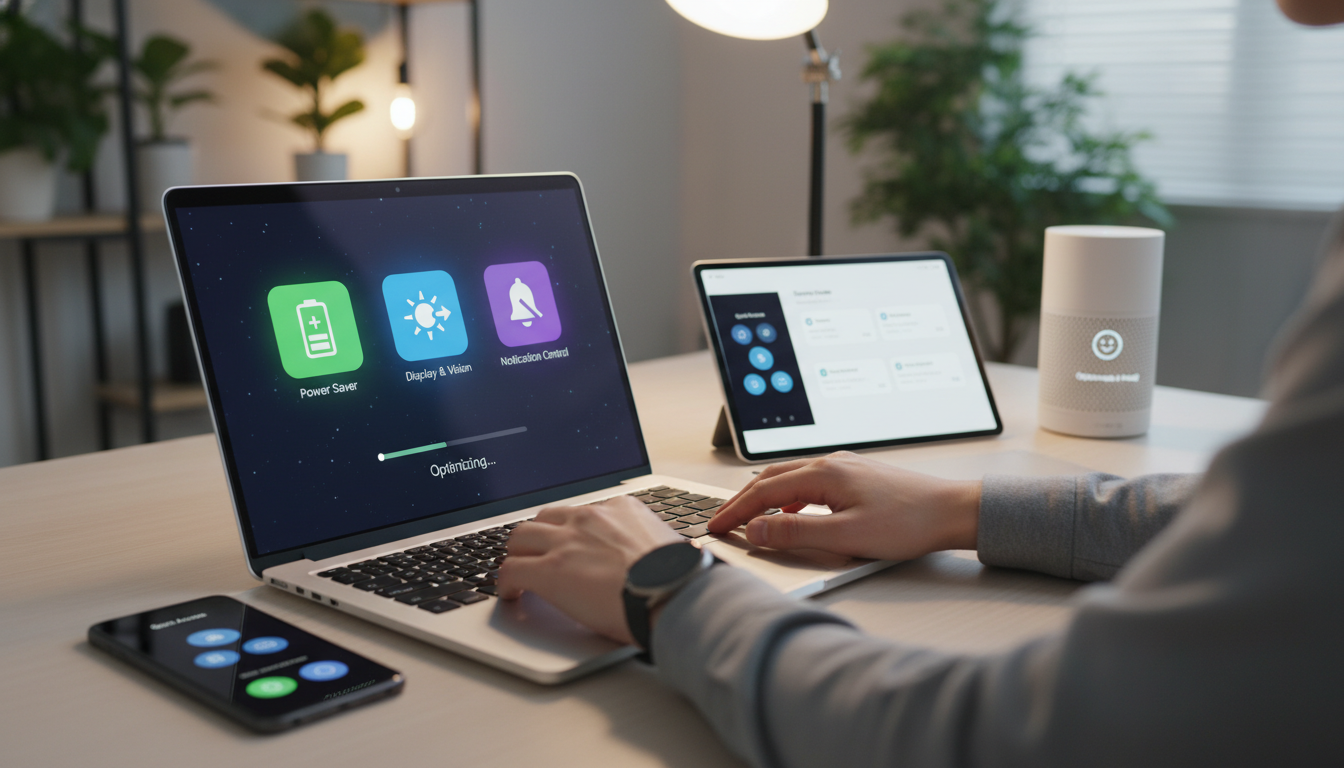
Battery Settings: Getting Through the Day Reliably
Battery anxiety is real. That low-battery warning at 2 PM creates genuine stress, especially when you’re away from a charger. These settings won’t double your battery life, but they will consistently extend it by 15-25% — often the difference between comfortable and stressful.
Background app refresh
Most apps refresh their content in the background even when you’re not using them. This is useful for messaging apps (so new messages arrive instantly) but wasteful for apps you check manually, like news readers or shopping apps.
- iOS: Settings → General → Background App Refresh. Keep it on for messaging and email. Disable it for everything else.
- Android: Settings → Battery → Battery optimization. Set non-essential apps to “Optimized.”
Location services precision
GPS is one of the biggest battery drains. Many apps request “precise” location when “approximate” would serve them just as well. A weather app doesn’t need your exact coordinates — your city is sufficient.
- iOS: Settings → Privacy → Location Services. For each app, toggle off “Precise Location” where approximate is adequate.
- Android: Settings → Location → App permissions. Switch non-navigation apps to “Approximate location.”
Optimized charging
Modern devices learn your charging patterns and slow charging above 80% to preserve long-term battery health. Make sure this feature is enabled — it has no downside for daily use and significantly extends your battery’s lifespan over years.
- iOS: Settings → Battery → Battery Health & Charging → Optimized Battery Charging (On)
- Android: Settings → Battery → Adaptive charging (or equivalent, varies by manufacturer)
Privacy Settings: Quick Wins for Data Protection
You don’t need to be a privacy expert to make meaningful improvements. These three settings address the most common forms of unnecessary data sharing.
Advertising identifier
Your device has a unique advertising ID that lets companies track your behavior across apps. You can limit this tracking with one toggle — it won’t break any apps, but it will reduce the amount of personal data flowing to advertising networks.
- iOS: Settings → Privacy & Security → Tracking → toggle off “Allow Apps to Request to Track”
- Android: Settings → Privacy → Ads → “Delete advertising ID”
Lock screen content visibility
By default, notification content appears on your lock screen — visible to anyone who picks up your device. You can show notifications without revealing their content until you authenticate.
- iOS: Settings → Notifications → Show Previews → “When Unlocked”
- Android: Settings → Notifications → Notifications on lock screen → “Show sensitive content only when unlocked”
Clipboard access alerts
Some apps read your clipboard (the last thing you copied) without asking. Modern operating systems can alert you when this happens. Enable this feature to see which apps are reading your copied text — you may be surprised.
- iOS: Enabled by default since iOS 16. You’ll see a banner when any app reads your clipboard.
- Android: Settings → Privacy → Show clipboard access (Android 12+)
Accessibility Settings That Benefit Everyone
Accessibility features aren’t just for people with disabilities. Many of them solve universal usability problems that affect everyone.
Reduce motion
Device animations look smooth but serve no functional purpose. Reducing them makes your device feel faster (because transitions are shorter) and can reduce motion sensitivity in people prone to nausea from screen movement.
- iOS: Settings → Accessibility → Motion → Reduce Motion (On)
- Android: Settings → Accessibility → Remove animations (On)
One-handed mode
Modern phones are too large to comfortably reach the top of the screen with one hand. Both platforms offer solutions:
- iOS: Settings → Accessibility → Touch → Reachability (On). Then swipe down on the bottom edge to bring the top of the screen within reach.
- Android: Settings → Advanced features → One-handed mode (varies by manufacturer)
Spoken content
Having your device read articles or long messages aloud is useful for multitasking — while cooking, driving, or exercising. It’s not just an accessibility feature; it’s a productivity tool that most people overlook.
- iOS: Settings → Accessibility → Spoken Content → Speak Selection (On). Then select any text and tap “Speak.”
- Android: Settings → Accessibility → Select to Speak (On)
Keyboard and Input Settings: Faster, More Accurate Typing
You type on your phone hundreds of times per day. Small improvements in keyboard behavior compound into significant time savings and reduced frustration.
Text replacement shortcuts
If you frequently type the same phrases — your email address, your home address, a standard response — create text shortcuts that expand automatically:
- iOS: Settings → General → Keyboard → Text Replacement. Add entries like “@@” → your email, “##” → your phone number.
- Android: Settings → System → Languages → Personal dictionary. Same concept, slightly different navigation.
Autocorrect behavior
Autocorrect is helpful most of the time but infuriating when it changes words you’ve intentionally typed. Both platforms let you fine-tune this:
- Teach it new words by consistently rejecting corrections for proper nouns, slang, or technical terms you use often
- If autocorrect causes more problems than it solves for you, consider switching to predictive suggestions only (shown above the keyboard) without automatic correction
Haptic keyboard feedback
If your device supports it, enabling haptic (vibration) feedback for each keypress can significantly improve typing accuracy. The subtle tactile confirmation helps your fingers find the right keys without looking as closely.
- iOS: Settings → Sounds & Haptics → Keyboard Feedback → Haptic (On)
- Android: Usually in keyboard settings → Preferences → Vibrate on keypress
Implementing These Changes: A Practical Approach
Don’t try to change everything at once. Instead, pick the category that addresses your biggest daily friction:
- If you often feel overwhelmed by your phone → start with Notification Settings
- If your battery regularly dies before evening → start with Battery Settings
- If you experience eye strain or headaches → start with Display Settings
- If typing feels slow or error-prone → start with Keyboard Settings
Implement one category this week. Live with it for a few days to confirm it feels better. Then move to the next category the following week. Within a month, your device will feel noticeably different — more responsive to your needs, less demanding of your attention, and genuinely configured for how you actually use it.
The best device settings aren’t about maximizing performance metrics. They’re about minimizing friction in the moments that matter to you. That’s what transforms a generic device into a personal tool.

Hi, I’m Isabela! With over 8 years in Information Technology, I’ve helped individuals and businesses navigate the ever-changing world of digital tools. I specialize in device optimization, app recommendations, and online security — breaking down complex tech concepts into clear, actionable advice anyone can follow.